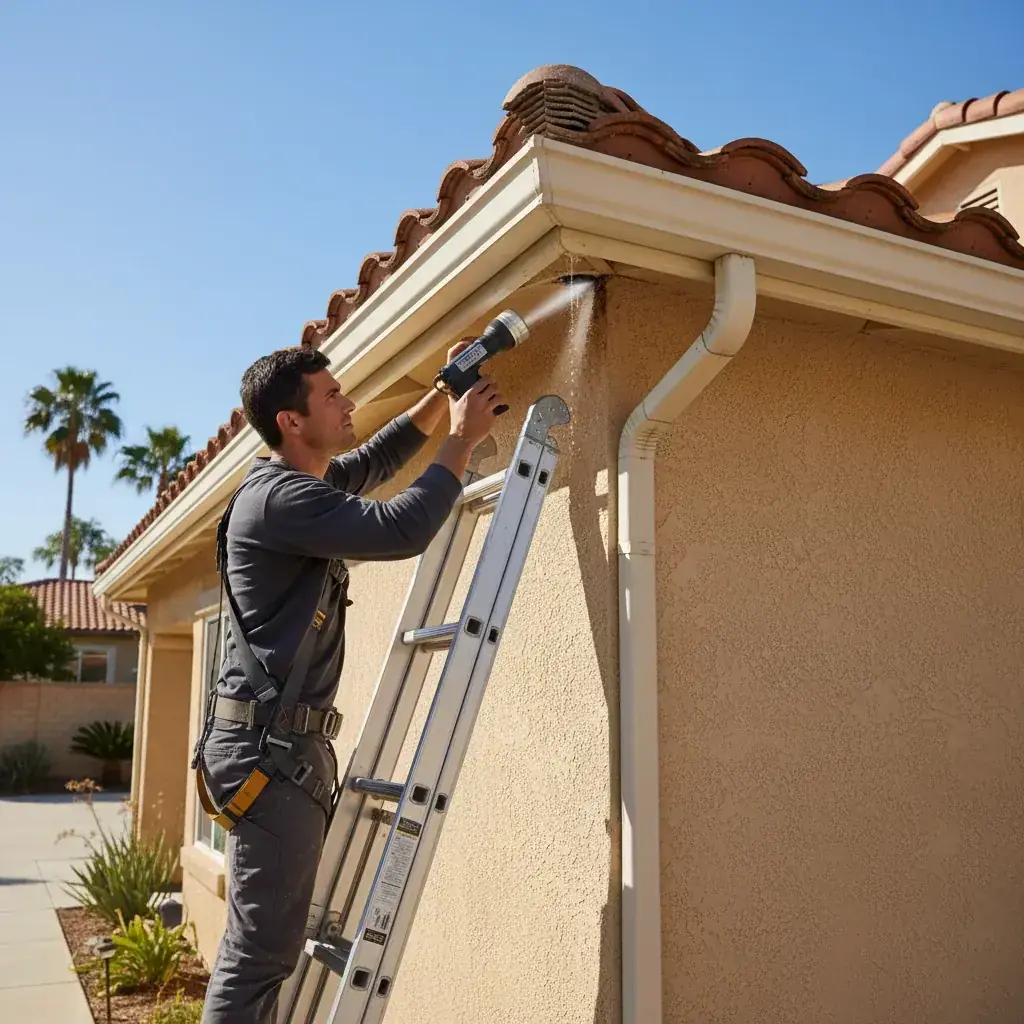
You’ve got a leak, a missing shingle, or a suspicious wet spot on the ceiling, and you’re wondering whether you can just handle it yourself. Honest answer from a San Diego roofer who’s seen plenty of DIY jobs go right and plenty go very, very wrong: sometimes yes, sometimes no, and a lot of the time it depends on what’s actually broken and what kind of roof you’ve got over your head.
This guide is the conversation we’d have with you in your driveway. No upsell, no fear-mongering. Just what we’d tell our own family.
TL;DR
Yes, DIY is reasonable for: a single missing or torn asphalt shingle on a low-slope single-story roof, one or two exposed nail heads, a hairline crack in a pipe boot as a temporary fix, and emergency tarping before a storm hits.
No, leave it to a pro for: anything on a tile roof, anything on a flat or low-slope membrane roof, chimney flashing, valleys, anything above one story, anything during or right after a Santa Ana wind event, and any active leak you can’t trace to a single visible cause.
It depends for: repairs that look small from the ground but might be hiding rot underneath, repairs on a roof less than five years old (you might void the warranty), and anything where you’d need to be on the roof for more than 15 minutes.
The rest of this guide walks through each scenario, the tools you actually need, the step-by-step for the two DIY jobs we think are safe, and the five or six ways DIY makes the problem worse when people get it wrong.
When DIY roof patching is reasonable
There’s a narrow band of repairs where a careful homeowner can do the job and not regret it. They share four things in common: the damage is visible, the roof is walkable, the patch is small, and a mistake won’t make anything dramatically worse.
Single missing or torn asphalt shingle. If wind lifted one shingle off your single-story asphalt roof and you can see the felt or deck underneath, replacing that one shingle is reasonable DIY work. You’ll need a matching replacement (color and profile), roofing nails, a flat pry bar, and roofing cement.
One or two exposed nail heads. When old shingles shrink, nails sometimes back out and poke through. A dab of roofing sealant on top of an exposed nail head, smoothed with a putty knife, is a legitimate fix. Not glamorous, but it works.
A hairline crack in a pipe boot. Pipe boots (the rubber collars around vent pipes) crack from UV exposure, usually around year 10 to 15 in San Diego sun. If you catch a small crack early, a bead of high-quality polyurethane sealant can buy you 6 to 18 months while you plan a proper replacement. This is a temporary fix, not a permanent one.
Emergency tarping before a storm. If rain’s coming in 24 hours and you’ve got an active leak, getting a tarp on the roof before the storm is genuinely useful, even if the install isn’t pretty. We’d rather you tarp it than let water keep pouring into the attic. There’s a step-by-step further down.
When DIY roof patching is dangerous
This is the longer list. Some of these are safety issues. Some are “you’ll make the leak worse.” Some are both.
Any tile roof. Most San Diego roofs are concrete or clay tile, and most homeowners don’t know that walking on tile the wrong way cracks it. Even professional roofers walk tile carefully and only on the lower third of each tile, with weight distributed across multiple tiles at once. One wrong step and you’ve turned a one-tile repair into a five-tile repair. If your roof is tile, don’t go up there. Read our guide on common causes of tile roof leaks in San Diego and call a tile-experienced roofer.
Flat or low-slope membrane roof. TPO, EPDM, modified bitumen, built-up roofing. These need heat-welded, primed, or specifically chemically compatible patches. The wrong sealant on the wrong membrane will lift the patch within months and trap water underneath, which is worse than the original leak.
Chimney flashing. Chimney leaks almost never come from where the water shows up inside. The actual failure point is usually the step flashing, counter flashing, or cricket behind the chimney. Diagnosing it from the ground is nearly impossible, and re-flashing a chimney correctly takes specific sheet metal work.
Anything above one story. OSHA requires fall protection for any work over six feet, and there’s a reason. Falls from roofs are one of the most common causes of construction fatalities in the United States, according to OSHA’s fall protection guidelines. A two-story San Diego home puts you 18 to 25 feet up. You don’t have the harness, the anchor, or the training. Don’t.
Valleys. The V-shaped channels where two roof slopes meet carry more water than any other part of the roof. They’re also the most precisely engineered. DIY patches in valleys almost always leak.
During or right after a Santa Ana event. Wind events make ladders unstable, throw debris, and dry out roofing cement before it bonds. We’ve watched homeowners lose grip on a 28-foot extension ladder in a 35 mph gust. Wait until it’s calm.
Any leak you can’t trace to a single visible cause. Water travels. A wet spot on the ceiling above the kitchen might originate 12 feet away near the chimney. If you can’t see the actual entry point from the roof, patching what looks like the problem just means you’ll patch again next month.
When DIY works vs when it doesn’t
| Repair | DIY OK | Call a pro |
|---|---|---|
| Single missing asphalt shingle, one-story | Yes | If you can’t match the shingle |
| Exposed nail head | Yes | If there are more than 5 |
| Pipe boot hairline crack | Yes, temporary | For permanent boot replacement |
| Cracked tile | No | Always |
| Flat roof blister or seam | No | Always |
| Chimney flashing leak | No | Always |
| Valley leak | No | Always |
| Two-story or steeper than 6/12 pitch | No | Always |
| Active leak, source unknown | No | Always |
| Emergency tarp before a storm | Yes, with caveats | If you can’t safely access the roof |
Tools you actually need
If you’re going up there to do one of the DIY-safe repairs above, this is the real list. Don’t half-stock and improvise on the roof.
Ladder rated for roof access. A Type IA extension ladder rated to 300 pounds, extended 3 feet above the roof edge, footed at the right angle (1 foot out for every 4 feet up), tied off at the top or stabilized with a standoff. A wobbly Home Depot ladder is the number one reason DIY roof work ends in the emergency room.
Soft-soled shoes with grip. Athletic sneakers with clean rubber soles. No work boots (too stiff), no flip-flops (obviously).
Fall-arrest harness and anchor for anything sketchy. If the roof pitch is over 6/12, or you’re working anywhere near the edge, wear a harness with a roof anchor screwed through into a rafter, not just the sheathing. A $90 harness kit is cheap compared to a back surgery.
Roofing cement vs sealant, the actual difference. Roofing cement (the black asphalt-based goop in a tub) is for bedding shingles and patching asphalt. Polyurethane or tripolymer sealant (in a caulk tube) is for sealing around penetrations and flashings. Silicone caulk is for bathtubs. Don’t mix them up.
Replacement shingles matched to existing. Take a fragment of your old shingle to a roofing supplier (not a big-box store) and ask them to match it. Color fades in San Diego sun, so a “matching” new shingle from the same brand will often look noticeably different. Some homeowners pull a replacement from a less-visible part of the roof and patch the inconspicuous spot with the new one.
Weather conditions. Roofing cement needs at least 50°F and dry conditions to bond. Don’t patch in fog, drizzle, or wind. San Diego has plenty of perfect patching days. Pick one.
Tools and materials cost vs calling a pro
| Item | DIY cost | Notes |
|---|---|---|
| Type IA extension ladder | $180–$320 | One-time, if you don’t already own one |
| Fall-arrest harness kit | $90–$160 | Required for anything sketchy |
| Bundle of replacement shingles | $35–$55 | You’ll only use a few |
| Tub of roofing cement | $12–$18 | Lasts years |
| Tube of polyurethane sealant | $9–$14 | Single use practical |
| Putty knife, flat bar, hammer | $25–$40 | If you don’t own them |
| Total first-time DIY cost | ~$350–$600 | |
| Professional small repair | $250–$550 | Includes labor, materials, warranty, no risk |
For a one-time repair, paying a pro often costs about the same as buying the tools, and you don’t end up on a roof. For ongoing maintenance over years, the DIY math improves.
Step-by-step: how to patch a single asphalt shingle
This is the cleanest DIY repair. Do it on a warm, dry, calm morning before the roof gets too hot to touch.
- Stage your ladder safely. Extend 3 feet above the eave, foot it at the right angle, tie off the top to something solid if you can. Have someone at the base.
- Lift the shingle above the damaged one. Use a flat pry bar to gently break the sealant strip. Work slowly; shingles get brittle in San Diego sun.
- Pull the four roofing nails holding the damaged shingle. They’ll be along the top edge of the shingle below. Use the pry bar’s claw.
- Slide the damaged shingle out. Inspect the felt or deck underneath. If it’s wet, soft, or stained, stop. You’ve got a bigger problem than a shingle, and it’s pro territory now.
- Slide the new shingle in. Line it up with the others on both sides.
- Nail it down. Four roofing nails along the top edge, about an inch above the cutouts, just below where the next course’s sealant strip will sit.
- Re-seat the shingle above. Press it back down. Apply a quarter-sized dab of roofing cement under each corner of the upper shingle and press to set.
- Wipe excess cement off the shingle face. It looks awful when it dries.
Whole repair takes 20 to 30 minutes if everything goes smoothly.
Step-by-step: how to seal a small pipe boot crack as a temporary fix
Pipe boots are the rubber or neoprene collars wrapped around plumbing vent pipes that stick out of your roof. UV degrades them and they crack, usually on the sun-facing side, usually around year 10 to 15.
- Clean the cracked area with a clean dry rag. Remove dirt, loose rubber, old caulk.
- Wipe with isopropyl alcohol to remove oils. Let it flash off (about 60 seconds).
- Apply polyurethane sealant generously over the crack, pressing it in with a gloved finger or a small putty knife. Build up about a quarter inch thick.
- Feather the edges so water sheets off instead of pooling.
- Let cure 24 hours before rain.
This buys you 6 to 18 months. The boot still needs to be replaced properly, which means lifting shingles, sliding the old boot off the pipe, and installing a new one. That’s a pro job for most homeowners.
How to install an emergency tarp before a pro arrives
If a storm’s coming in less than 48 hours and you’ve got an active leak, an emergency tarp is the most useful DIY work you can do. We wrote a full walk-through here: emergency roof tarp guide for San Diego. Short version:
- Get a heavy-duty tarp, at least 6 mil, sized to cover the leak area plus 4 feet on every side, ideally extending up over the ridge.
- Sandwich the tarp edges around 2x4s, rolled twice, then screw the 2x4 sandwich into the roof along the high edge (above the leak). Yes, you’re putting holes in the roof. They’re above the leak so they don’t matter, and the alternative is the tarp blowing off in the first gust.
- Drape the tarp down the slope, past the eave. Don’t tarp uphill, water will pool.
- Anchor the sides and bottom the same way if winds are coming.
- Don’t walk on the tarp once it’s wet. It’s a slip hazard worse than the bare roof.
Call a roofer immediately after. A tarp is a stop-gap, not a repair.
When DIY makes the problem worse
This is the part more homeowners should read before climbing the ladder. Here are the six most common ways DIY backfires:
1. Wrong sealant on the wrong material. Silicone caulk on a flat membrane. Roofing cement smeared over a tile crack. Sealants that look identical at the hardware store behave completely differently. Some trap moisture, some never fully cure, some chemically attack the substrate.
2. Sealant troweled over the actual leak source. Water enters at point A, runs along a rafter, drips at point B. You see point B from the attic, climb up, find what looks like a wet spot above point B, and slather sealant there. Leak doesn’t stop, because you didn’t fix point A. Now there’s also a big ugly sealant smear on your roof.
3. Cracked tiles from foot traffic. Already covered above, but worth repeating. If you walked on a tile roof to patch one tile, you almost certainly cracked two or three others on the way over. You won’t see them until next winter.
4. Lifted shingles glued back down with the wrong stuff. When a homeowner notices wind-lifted shingles and uses construction adhesive or silicone instead of roofing cement, the shingles bond unevenly, tear under thermal expansion, and create new gaps within a season.
5. Penetrations sealed but not flashed. A skylight, a vent, a satellite mount, a solar conduit. These need flashing, which is a piece of formed metal that diverts water. Sealant alone always fails. Always.
6. Voiding the manufacturer warranty. Most asphalt shingle warranties (GAF, Owens Corning, CertainTeed) get voided when a non-certified contractor or homeowner performs a repair improperly. We see this constantly. Homeowner does a DIY patch, two years later a real problem develops, and the manufacturer won’t honor the warranty because there’s evidence of unauthorized work.
Insurance and warranty implications of DIY
This is the part nobody talks about until it matters.
Homeowners insurance. Most California homeowners policies cover sudden, accidental roof damage (wind, falling tree, hail). They don’t cover wear and maintenance. If you DIY a repair, your insurer can argue any future claim was caused or worsened by improper work. We’ve seen claims denied because the adjuster spotted roofing cement smeared in a place that suggested an attempted DIY fix. For a deeper look, see our guide on whether homeowners insurance covers roof leaks in California.
Manufacturer warranty. Shingle manufacturers require repairs to be done by certified installers using compatible materials, documented appropriately. A DIY repair, even a good one, can void coverage on the entire roof if the manufacturer audits the claim.
Workmanship warranty. If a roofer recently installed or repaired your roof, doing your own work on top of theirs typically voids any workmanship warranty they gave you. Ask before you climb.
HOA rules. Many San Diego HOAs (especially in Carmel Valley, Rancho Bernardo, 4S Ranch, and any planned community) require approved contractors and matching materials for any exterior work, including roof repairs. Some require permits even for small patches. Check your CC&Rs.
Permits. California’s Contractors State License Board requires a licensed contractor for any home improvement work where the combined labor and materials exceed $500. A homeowner can legally do work on their own home without a license, but if you sell within a few years, an unpermitted repair can become a disclosure issue.
Cost comparison: DIY vs pro
For one typical small repair (single missing shingle or small pipe boot fix):
| Scenario | DIY total | Pro repair |
|---|---|---|
| Materials only (you own tools) | $20–$45 | n/a |
| First-time, buying tools | $350–$600 | n/a |
| Professional small repair | n/a | $250–$550 |
| Pro repair with warranty | n/a | $350–$650 |
| Time spent | 2–4 hours | 0 hours |
| Risk of injury | Real | None |
| Risk of voiding warranty | Possible | None |
| Risk of insurance issue later | Possible | None |
For one-off repairs by someone who doesn’t already own the ladder and harness, the math usually favors hiring a pro. For ongoing maintenance over years, on a simple asphalt roof, the DIY math improves. For tile, flat, or anything two-story, there’s no math. Just call. The full breakdown on how to maintain a tile roof in San Diego goes deeper.
FAQ
Do I need a permit to patch my own roof in San Diego? For small repairs under $500 and under 10% of the roof area, San Diego County generally doesn’t require a permit. Full re-roofs and significant repairs do. Check with the City of San Diego Development Services or your local jurisdiction (each city in the county has its own rules).
Will my insurance still cover a future claim if I did a DIY patch? Maybe, but it’s complicated. If the adjuster determines your DIY work caused or worsened the damage, they can deny the claim. If your patch is clearly unrelated to the new damage, you’re usually fine. Document your repairs with photos and dates.
What about HOA rules? Most San Diego HOAs require approval for any exterior work. Some allow homeowner repairs, some require licensed contractors, some require matching specific materials. Read your CC&Rs before you climb.
Can I walk on my tile roof if I’m careful? Honestly, no. Even careful homeowners crack tiles, and you usually won’t notice until next rainy season when the leak shows up. If your roof is tile, the answer is always to call a tile-experienced roofer. Read our tile roof leaks guide for context.
How long will a DIY patch last in San Diego’s coastal climate? Coastal salt air degrades sealants and adhesives faster than inland air. A DIY sealant repair that lasts five years in El Cajon might last 18 to 30 months in Encinitas, Cardiff, or Coronado. Plan accordingly.
What if I patched it and it still leaks? Stop patching. Water travels, and you’re probably treating a symptom instead of the source. Call a roofer to do a proper diagnostic. See our roof leak troubleshooting guide for what to expect.
Is it true Santa Ana winds make DIY worse? Yes. Dry sealants don’t bond well, ladders aren’t stable, and any loose materials become projectiles. Don’t DIY before or during a wind event. Wait until conditions settle.
When to call us
You should call instead of climbing if your roof is tile or flat, if you’re two stories up, if you can’t see the actual leak source, if it’s storming or about to storm, or if the damage extends beyond a single visible shingle or nail head.
The roofers in our network do straightforward repairs every day. A good roofer won’t upsell you a new roof to fix a $300 problem. We’ll tell you honestly whether it’s a 30-minute patch or a sign of a larger issue, and we’ll do the work with materials that won’t void your warranty or complicate your insurance.
Reach out through our roof repair service page, our emergency roof repair line, or just contact us directly. If you want more reading first, we’ve also got a deeper DIY vs pro roof leak repair comparison that walks through scenarios in more detail.
Either way, before you climb up there, make sure it’s the right job, the right day, and the right roof. Most of the time, that’s enough to know whether to do it yourself or hand us the keys to the ladder.
For professional leak source diagnosis and repair, see our roof leak repair service.